The Ultimate Guide: How to Connect Solar Panels to Any Portable Power Station
Buying a portable power station like an EcoFlow, Jackery, or Bluetti is only the first step towards energy independence. To truly go off-grid, you need to harness the sun. But the world of solar can be intimidating. You are faced with confusing acronyms like "Voc," "Imp," "MPPT," and a dozen different connector types.
One wrong connection could not only fail to charge your battery but could permanently damage your expensive equipment. Don't worry.
In this comprehensive guide, SolarTechReport breaks down the engineering behind solar charging. We will teach you how to match panels to your generator, choose the right cables, and optimize your setup for maximum efficiency.
Part 1: Understand the "Language" of Solar
Before you buy a single cable, you need to understand three numbers found on the back of every solar panel:
1. Open Circuit Voltage (Voc) ⚠️
This is the most critical number. It represents the maximum voltage a panel can produce when it's not connected to anything. NEVER exceed your power station's max input voltage.
Example: If your EcoFlow takes 60V max, and you connect two panels in series that produce 70V total, you will fry the inverter.
2. Short Circuit Current (Isc) or Imp
This is the amperage. Unlike voltage, it is generally safe to exceed the amperage limit. Your power station will simply "pull" only what it needs and ignore the rest. However, staying close to the limit is more efficient.
3. Wattage (Pmax)
This is the theoretical maximum power. A "100W" panel will almost never produce 100W in the real world (more on that in the Troubleshooting section).
Part 2: Connector Types Explained
The biggest frustration for beginners is that panels and power stations often use different plugs. Here is your cheat sheet:
| Connector | Image / Description | Used By |
|---|---|---|
| MC4 | The industry standard. Weatherproof, secure, two separate wires (positive/negative). | Renogy, Rigid Panels, Roof Solar |
| XT60 | Yellow connector. High current handling, very secure. | EcoFlow, Bluetti (newer models) |
| DC7909 (8mm) | Round barrel plug with a center pin. | Jackery, Goal Zero, Bluetti (older) |
| Anderson (APP) | Blocky, usually red/black or grey. Handles high power. | Jackery 1000 (old), Large setups |
The Solution: If your panel has MC4 and your station has XT60, you simply need an MC4 to XT60 Adapter.
Part 3: Series vs. Parallel Wiring
If you have more than one solar panel, how you connect them matters immensely.
🔗 Series Connection (Daisy Chaining)
You connect the Positive of Panel A to the Negative of Panel B.
- Effect: Voltage adds up (V + V). Amps stay the same.
- Best For: MPPT controllers that need higher voltage to start; Long cable runs (less power loss).
- Risk: Exceeding the max voltage limit of your station.
- Downside: If one panel is shaded, the entire string drops in power.
🔗 Parallel Connection
You connect all Positives together and all Negatives together (using a Y-Branch connector).
- Effect: Amps add up (A + A). Voltage stays the same.
- Best For: Staying under voltage limits; Partial shade conditions.
- Risk: Exceeding the max amperage (power will be clipped).
Part 4: PWM vs. MPPT Charge Controllers
Inside your portable power station is a "Charge Controller." This is the brain that regulates the energy from the panels.
- PWM (Pulse Width Modulation): Older tech. It drags the panel voltage down to the battery voltage, wasting energy. Only about 70-75% efficient.
- MPPT (Maximum Power Point Tracking): Modern tech. It converts excess voltage into amps. It adjusts in real-time to get the most out of the sun. 95-99% efficient.
Note: Almost all modern stations (EcoFlow, Bluetti, Anker) use MPPT. Some cheaper brands still use PWM.
Part 5: Step-by-Step Connection Guide
- Check Compatibility: Ensure your panel's Voc is lower than the station's max input.
- Unfold Panels: Place them in direct sunlight. Angle them so they face the sun directly (perpendicular).
- Connect Adapter: If using a standard panel, plug the MC4 connectors into your adapter cable (listen for the "click").
- Plug into Station: Insert the input plug (XT60/8mm) into the port marked "DC Input" or "Solar".
- Verify Charging: Look at the LCD screen. You should see the input wattage climb. It may take 30-60 seconds for the MPPT to optimize.
Troubleshooting: "Why am I not getting 100 Watts?"
You bought a 100W panel, but the screen says 70W. Is it broken? Probably not. Here is why:
- The 80% Rule: Solar panels are rated in a lab at 25°C. In the real world, heat reduces efficiency. Getting 80% of the rated power (80W from a 100W panel) is considered excellent.
- Angle: Even a 10-degree offset from the sun can drop power by 10-15%.
- Clouds/Haze: Invisible high-altitude clouds can cut power significantly.
- Shadows: A tiny shadow from a tree branch on just one cell can kill the output of the entire panel.
Our Recommendation for Beginners
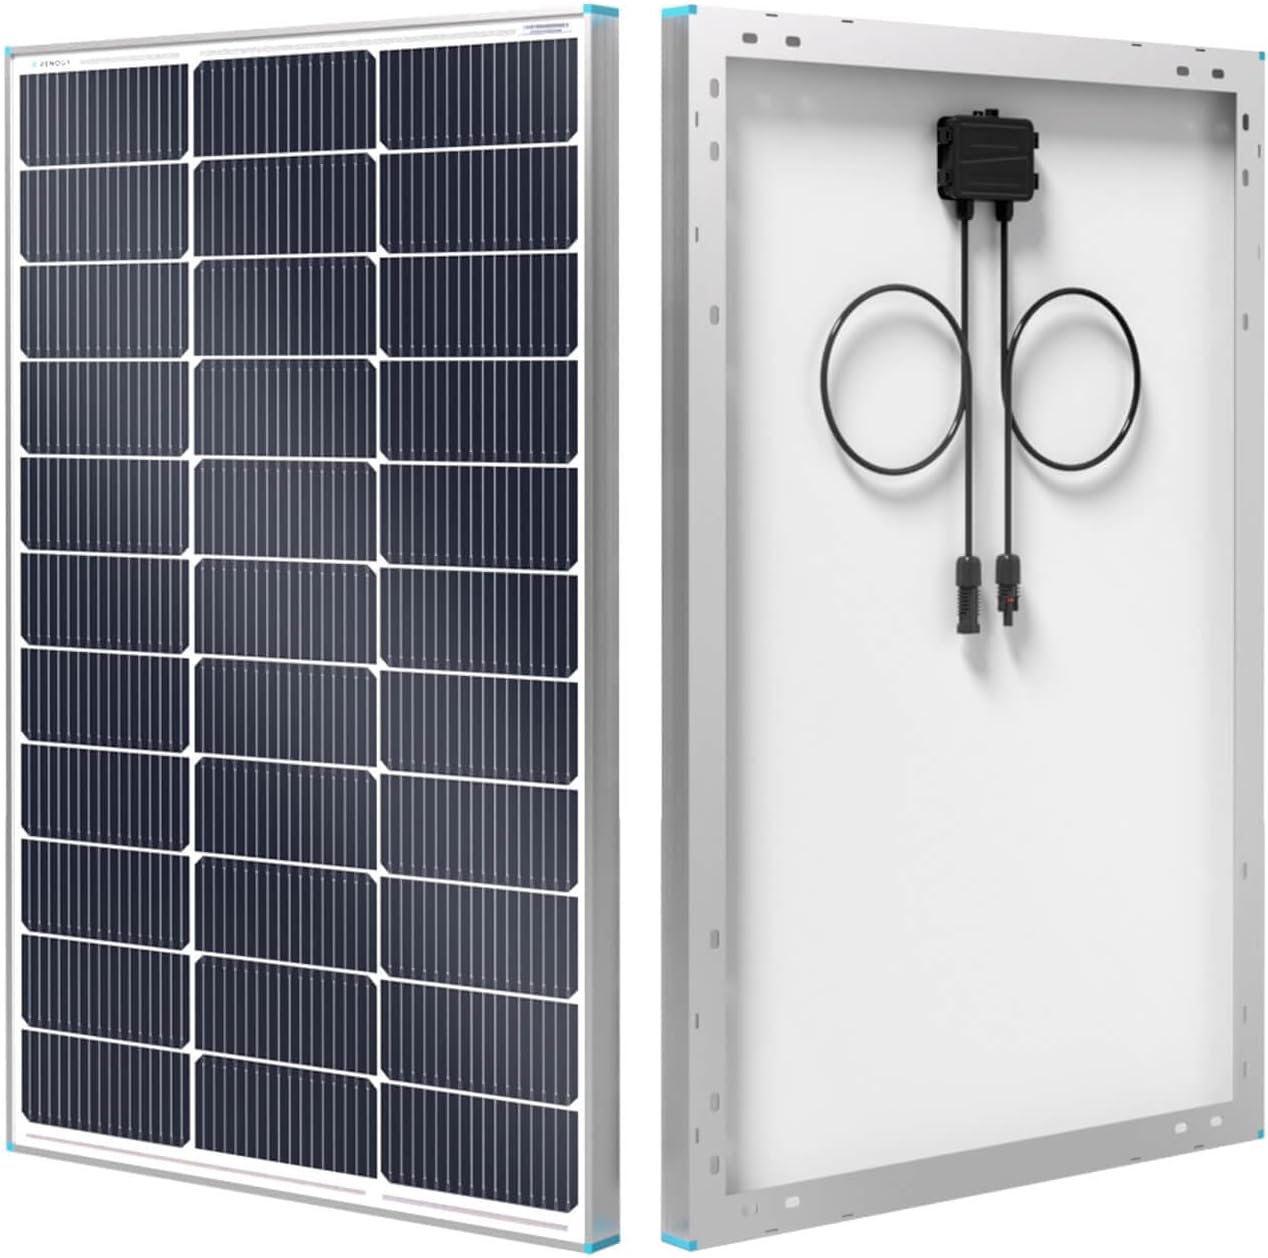
If you are building your first setup, we recommend the Renogy 100W Monocrystalline Panel. It is durable, uses standard MC4 connectors, and offers the best value for money.
Need a power station to go with it? Check out our ranking of the Best Portable Power Stations of 2026.